What is Priming and Why is it Important?
The coil in a vape is arguably the most essential component because without it, the e-liquid cannot be converted into aerosol vapor ready to be inhaled. However, to work as it is designed to, a coil must be surrounded by the required volume of e-liquid to prevent it from getting too hot and burning out. This is the job of the wicking material (usually cotton), which carries vape juice to the coil in a controlled flow.
Priming a coil simply means pre-soaking it and the wick with enough e-liquid (and for enough time) to ensure that when power is put through it and heat is generated, there are no dry spots that can burn. Priming is usually only required with a new coil, but it can sometimes be advisable to re-prime a coil that has been left unused for a time and allowed to dry out.
Understanding coil priming is perhaps not as essential for every vaper as it once was due to the improvements in the overall design of vape coils and the massive increase in popularity of beginner-friendly devices (such as disposables and fixed-coil pod vapes). However, this simple and relatively quick process is still an important part of ensuring you have an enjoyable and cost-effective vaping experience.
Benefits of Coil Priming
Aside from preventing your coil from burning, there are several other potential benefits to correctly priming the coil before using the vape.
Better Flavor: No one will enjoy the flavor a burnt coil produces, but dry hits can also be a problem. Dry hits, which differ from burnt hits, will usually be weak, lack flavor, and produce less vapor. Keeping your coil well-saturated helps to ensure a more enjoyable vaping experience.
Longer Lifespan: When a coil and wicking material are even slightly burned, they will become less effective, and an ineffective coil is one that you’ll probably want to replace sooner rather than later. Looking after your coils means you’ll have to replace them less often.
Safety: Keeping coils in good condition prevents the material they are made of from degrading. When materials degrade, they might release foreign particles into the vape liquid which, while unlikely to be a major health concern, is a less-than-optimal situation.
How to Prime a Vape Coil Properly
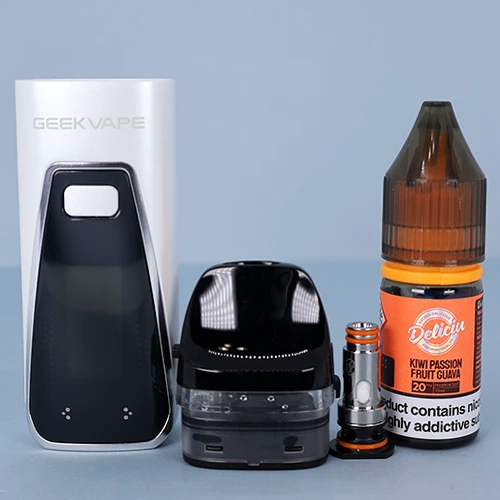
To properly prime your vape coil, you will need your tank, your coil, and your e-liquid of choice. It’s important to prime your coil so that you don’t get any dry hits or burn your cotton.
Once you’ve burnt the cotton in your coil, you’re going to get a burnt, nasty taste every time that you take a draw. This means that you’ll have to throw the coil out and replace it with a new one. Prebuilt coils aren’t exactly cheap, so knowing how to prime a coil is essential.
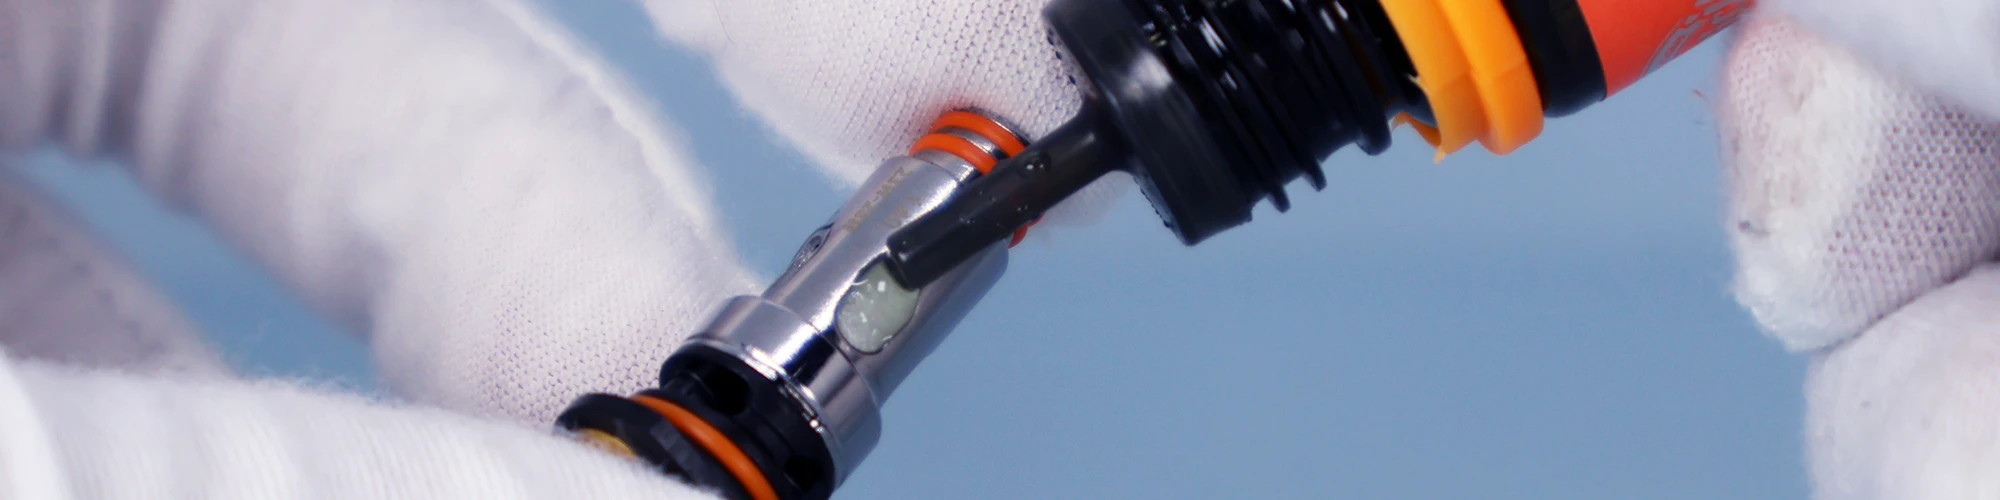
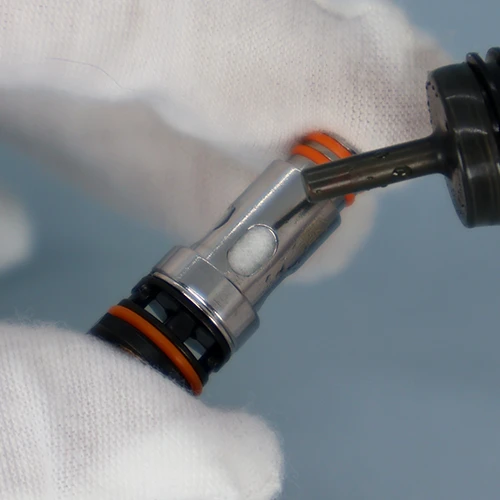
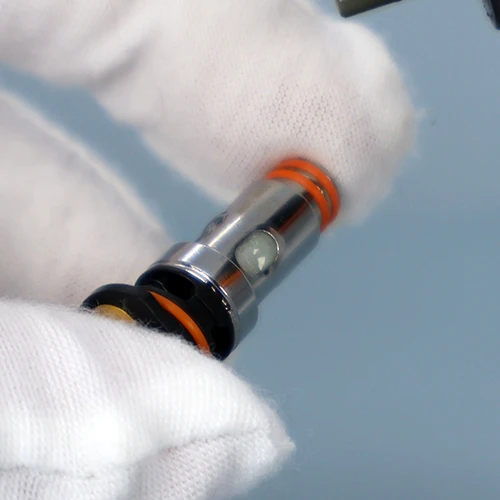
Take your preferred bottle of e-liquid and start dripping some vape juice into the holes on the sides of your coil. There may be two or more.
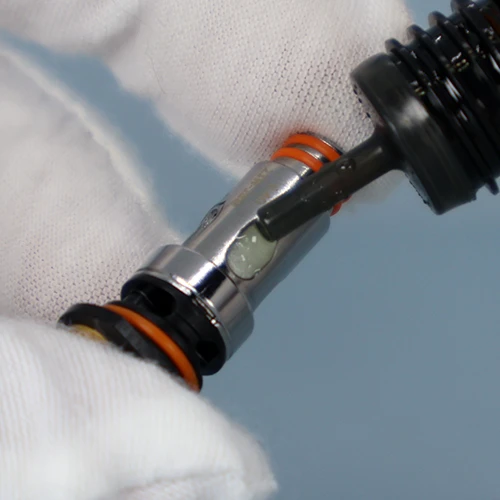
You’ll notice that the ejuice is quickly absorbed by the cotton. You’ll want to make sure that you keep dripping liquid into these holes until it stops absorbing it.
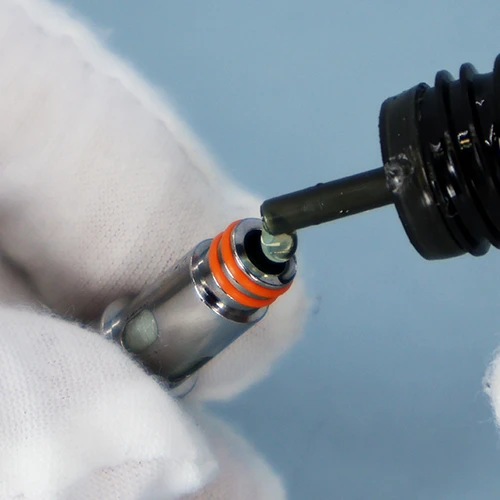
Once you’ve done this with all of the holes on the sides of your coil, you’ll also want to drip some ejuice directly into the top hole. Do this at an angle though, so that the e-liquid is absorbed by the cotton on the inner wall, and does not pool at the bottom of the coil.
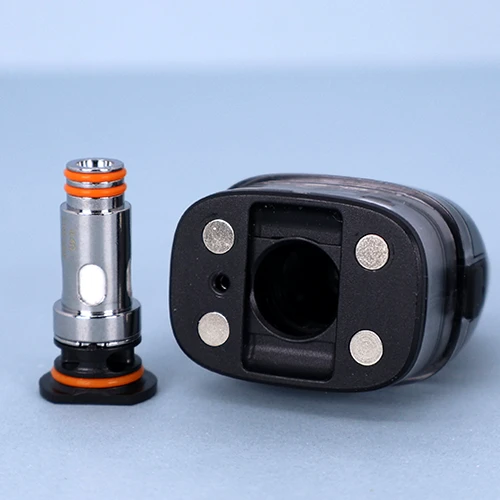
Once your coil is well primed and saturated, the next step is to fully install it into your pod or tank. Ensure that the coil is seated properly and completely into the pod/tank. You should now fill the pod/tank, leaving a little bit of room inside but ensuring that liquid completely covers the wicking holes.
Now it’s time to take a couple of dry pulls. Dry pulls are when you take pulls, but with your device off and your airflow open.
Make sure your device is off! Then, take a couple of dry pulls, but don’t inhale too hard. Just inhale as if you’re taking a normal draw.
For best results, wait at least 2-5 minutes with your coil and pod/tank fully assembled before vaping. If you’ve followed all of the above steps correctly, you’re good to go!
Consider Coil Resistance When Priming
The resistance of the coil can make a difference in how long and thoroughly it should be primed. Low-resistance coils, such as sub-ohm, are designed to vaporize more liquid with each puff. This means that they will contain more wicking material and have a higher chance that not all of it will be soaked with a few drops of e-liquid.
Low-resistance coils are also more fragile than high-resistance and burn out more easily (the expected lifespan of a 0.2Ω coil might be a couple of days, whereas a 1.2Ω coil might be rated as lasting for a couple of weeks), so a shortened lifespan is also a concern if under-primed.
With these things in mind, it is well worth using a few extra drops of liquid to prime any coil that is below 0.6Ω (and perhaps even more for coils 0.2Ω and below), and to leave the coil unused for at least 5 minutes and ideally 7-10 minutes to let that extra wicking get evenly soaked.
Priming Fixed Coil Vape Pods and Tanks
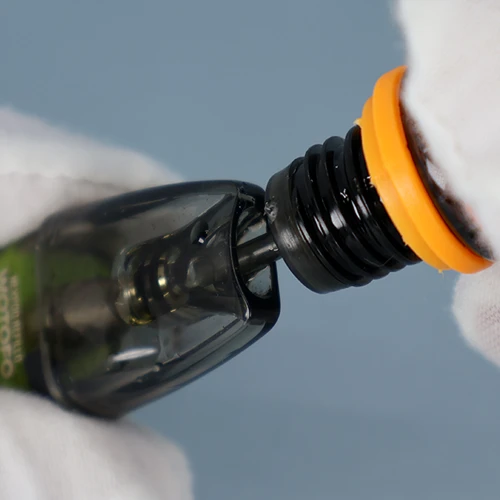
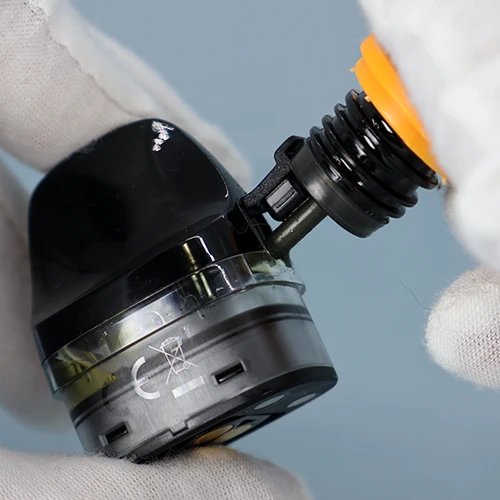
The traditional method of priming a coil, as shown above, is to drip liquid directly into the coil housing. This clearly isn’t possible if the coil is pre-fitted into a fixed-coil pod or vape tank and therefore non-removable. So do the coils in fixed-coil pods need to be primed, and if so, how can it be done?
The simple answer is yes. You should be priming the coil in fixed-coil pods and tanks. This can be done by dripping a few drops of liquid down through the drip-tip, into the top of the coil chimney. Once that is done, fill the pods at least to the top of the wicking ports, which you’ll be able to see on the side of the internal coil. Leave the pod to stand for a few minutes before using it.
You can speed up the priming process by drawing gently through the newly filled pod mouthpiece BEFORE inserting it into the vape device, or with your device turned off. This will draw liquid into the coil without the risk of burning.
Do Pre-Filled Pods and Disposable Vape Coils Need Priming?
Pre-filled pods and disposable vapes are the only types of e-cigarette devices that do not require a new coil to be primed. The coils in both of these device types will have been saturated in vape liquid for at least several days, which is certainly long enough for the coil to be primed and ready to use straight out of the box.
The only exceptions to this are the very few pre-filled products that have a mechanism to separate liquid and coil until they are ready to be used. If you are using a pre-filled pod or disposable that has this feature, remove the liquid barrier and let it stand for several minutes to allow the liquid to soak into the coil. As a further precaution against getting a burnt hit, make your first few draws on the device short and gentle.
What to Do If You Forget to Prime the Coil
Even long-time vapers will forget to prime a new coil once in a while; this even applies to us here at Versed Vaper. It can be annoying, but it’s not the end of the world.
It’s almost impossible not to know if your coil is burnt beyond saving. The terrible taste, pain in your throat, and hacking cough should be enough to have you consigning the busted coil straight into the trash. Once a coil is producing these sorts of effects, there is very little you can do to save it. Drip as much vape juice onto it as you like, leave it to stand soaking in for 3 hours, and all you’ll be doing is throwing good e-liquid after bad.
In many cases, experiencing a mild burnt taste from an un-primed coil won’t mean that it is ruined. Give it a few more drops of e-liquid and let the coil stand for a few more minutes. The likelihood that you’ll get away with taking a few puffs on an unprimed coil is greater if using a high-resistance device, but that’s not to say a sub-ohm coil will always be ruined. If the burned taste is not very strong, no matter the coil resistance, give it another chance before you discard it as a lost cause.
The Bottom Line
Priming the coil of your vape is a relatively quick and simple process, one that all new vapers should learn about and perform every time a new coil or pod is being used.
It takes just a few minutes, perhaps as infrequently as once every two weeks, but doing it properly will not only help to ensure that you don’t ruin a brand-new coil and prevent you from experiencing the unpleasantness of a burnt hit, it will also help to increase its lifespan and make sure that as many puffs as possible are enjoyable.


Add comment